How to Edit Product Photos for an Online Clothing Store Without a Studio
Learn how to turn basic phone pictures into professional catalogue shots for your clothing business using simple editing tricks.
 DevForge Studio
6 min read
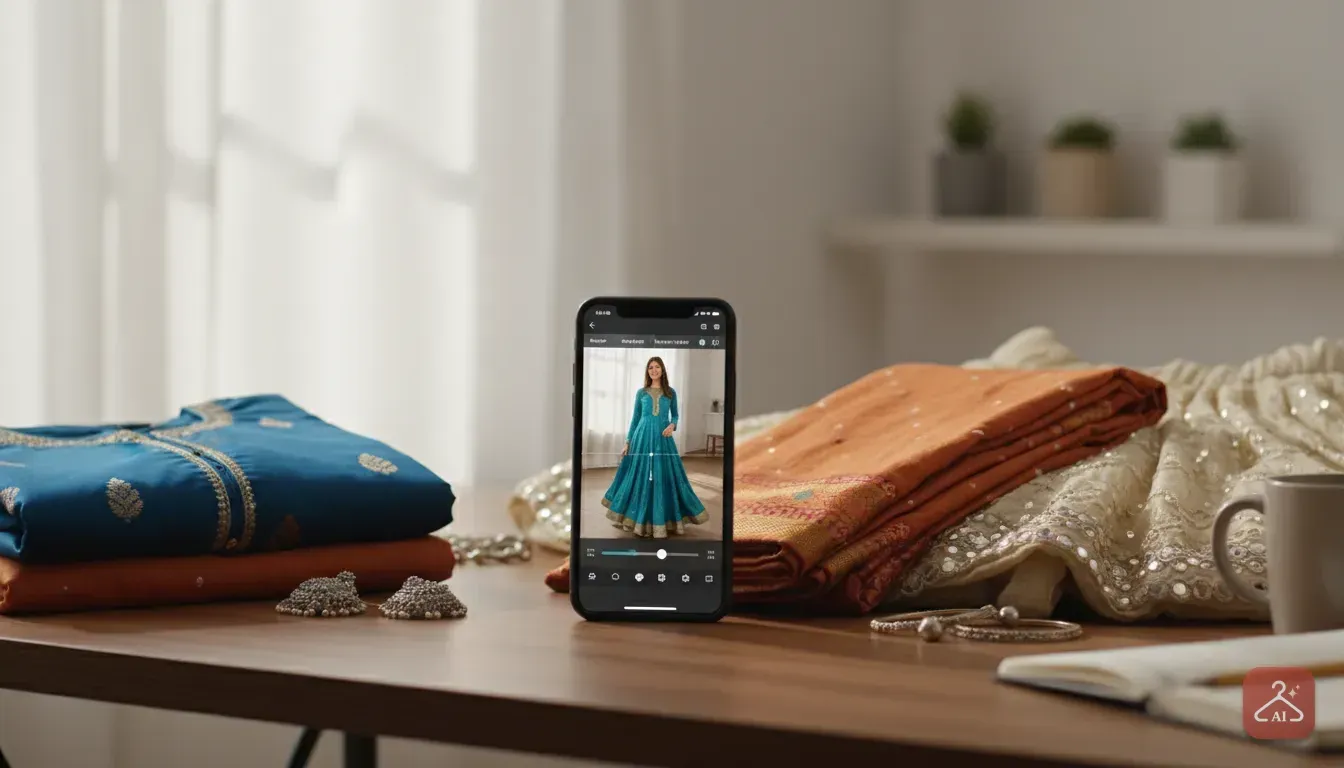
Setting up a clothing brand is exhausting. Getting high-quality photos usually feels like the most expensive part. You might think you need big studio lights, a DSLR, and hired models to sell on Meesho, Instagram, or Myntra. You really don't. We'll show you exactly how to edit product photos for an online clothing store without a studio, right from your phone.
The real secret is simpler than you think. You just need a clean base photo near a window. From there, you use basic editing tools to fix the background, adjust colours, or drop in a virtual model. We've used these exact steps to turn basic phone pictures into polished shots that actually convert.
Prep the garment before taking any photos
Editing is powerful. But it can't fix a dress that looks like it spent a week at the bottom of a laundry basket. Prepping your clothes saves hours of frustrating screen time later.
- Iron everything: Use a steam iron for major creases. Pay special attention to collars, hemlines, and dupattas.
- Use a lint roller: Black cotton and velvet pick up tiny white dust particles. They look awful under bright light, so roll them clean before you shoot.
- Stuff the clothing: Clothes look flat and lifeless on a table or wall. Stuff tissue paper inside the sleeves and chest to give the garment natural volume.
Shoot near a window for natural light
You can't edit a dark, blurry photo into a masterpiece. You need decent lighting to catch the fabric's texture. Forget buying expensive studio lights, and just use the biggest window in your house.
Clear a space on the floor or set up a small table next to the window. Turn off your room's yellow overhead lights. They mix with daylight and completely ruin fabric colours.
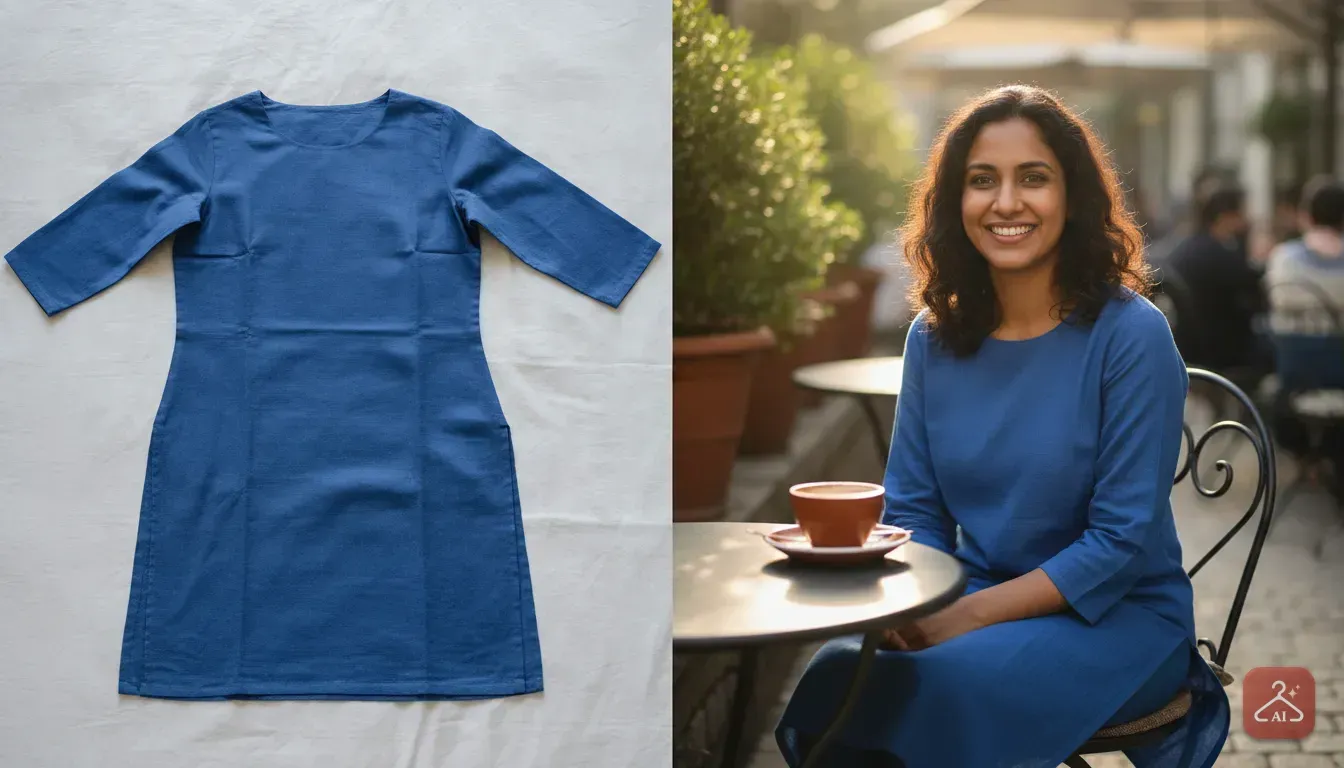
Place your garment facing the window for even natural light. If one side looks dark, prop up a piece of white cardboard on the opposite side to bounce light back. For floor setups, check our guide on how to turn flat lay clothing into professional product photos using a few simple tweaks.
Remove messy backgrounds
Buyers want to see the saree or western wear you are selling. They don't care about your living room furniture or bedsheet patterns. Your first major editing step is dumping that background.
Most marketplaces require a pure white or light grey background for main catalogue images. You can do this right on your phone. Just use built-in cutout features or free background removal apps.
Watch the edges closely when using removal tools. Fringes, lace borders, and threads often get chopped off by automatic apps. Zoom in and use a restore brush to bring back missing fabric details, then drop the clean cutout onto a solid white canvas.
Adjust colours to reduce customer returns
The biggest reason for clothing returns is poor colour matching. A customer orders a bright red kurti, but they get a maroon one. We see this all the time because phone cameras warp colours based on room lighting.
You have to edit your photos to match the physical garment sitting in front of you. Open your phone's camera editor, Snapseed, or Lightroom. Then use these specific sliders:
- Exposure / Brightness: Increase this slightly if the photo feels dull. Stop right before the bright areas lose their texture.
- Contrast: Bump this up by 5 to 15 points. It darkens shadows and brightens highlights to make embroidery pop.
- Warmth (Temperature): If a white shirt looks slightly blue, increase the warmth. If it leans yellow, bring it down.
- Tint: This fixes green and magenta tones. If a pink lehenga looks too purple, slide the tint until it matches the physical dress.
- Saturation: Only touch this if the colour looks totally washed out. Don't overdo it, or the clothes will look fake and neon.
Turn hanger shots into professional model photos
Selling clothes on a flat surface is tough. Shoppers want to see how an outfit drapes on a real body. They need to know sleeve lengths and where hemlines fall, but hiring models and renting studios costs a fortune for small sellers.
You can bypass all that expense using our app, Outfit Gen AI. We built a Model Photoshoot feature exactly for this workflow. You just snap a product photo, and the AI turns it into a catalogue shot featuring a real-looking model.
Here is our process:
- Take a clear flat lay or mannequin photo using the natural light trick we mentioned.
- Open Outfit Gen AI on your phone.
- Upload your photo. Use the Extract Outfit tool to isolate the dress if your background is messy.
- Choose a virtual model from the gallery that fits your brand.
- The app generates a realistic catalogue photo of the model wearing your specific item.
This shows customers exactly how the item wears in real life. If you want more details on this, read our guide on doing an AI model photoshoot for clothing as a small business owner.
Clean up dust, lint, and minor wrinkles
Handling clothes to set up a shot always causes small creases. Your phone camera is also sharp enough to pick up tiny dust specks you can't even see.
You'll need a healing brush tool for this. Almost all major editing apps include one. Zoom in closely and tap on any dust spots, loose threads, or weird shadows, and the app will blend them right in.
Keep it natural. Don't use smoothing tools over large areas, or you'll destroy the texture of the cotton or silk. Buyers need to see that weave to trust the quality.
Upscale the final image for zoom features
Platforms like Ajio, Amazon, and Myntra have strict size rules. They usually require high-resolution images (like 1000 by 1000 pixels) for their zoom features. Shoppers use this to inspect stitching and print quality up close.
Heavy cropping ruins your resolution. Uploading a tiny image just looks blurry on the final product page.
You can fix this with an upscaler. We added a one-tap 4K Upscale button inside Outfit Gen AI for this exact reason. Run your edited product shot through it to sharpen edges and add missing details back in.
This ensures the file is large enough for any store requirement. Always check the aspect ratio your platform needs (usually 3:4 for Instagram and Meesho, or 1:1 for others). Crop your upscaled image to match.
Create lifestyle variations for Instagram
Pure white backgrounds are mandatory for product pages, but they look dead on an Instagram feed. Social buyers respond to lifestyle photos. They want to imagine wearing your party dress to a cafe or your saree to a wedding.
You don't need to pack up inventory and travel to location shoots. Just use your clean product image and AI editing tools to swap the setting.
Using the AI Edit feature in Outfit Gen AI, you describe the background you want. Type something like, 'A bright morning cafe terrace with a wooden table'. The app places your product in that scene, matches the lighting perfectly, and gives you endless social media content without leaving your desk.
Next steps for your store
You now have a practical workflow to get stunning images without burning your budget on a studio. Good photos build trust. Trust brings sales.
Grab one piece of clothing from your inventory today. Iron it, take it to a bright window, and snap a few photos on your phone. Run it through a background remover, tweak the warmth, and try placing it on a virtual model. You'll be amazed at how professional your brand looks with ten minutes of effort.
Frequently asked questions
Can I edit product photos on my phone?
Yes, you can use basic phone editors to adjust brightness and contrast. For background removal and adding virtual models, you can use specialized apps directly on your smartphone.
How do I make my clothing photos look professional without a model?
You can use an AI model photoshoot app. You upload a picture of your garment on a hanger or flat lay, and the app generates a realistic photo of a model wearing it.
What is the best background colour for selling clothes online?
Most e-commerce platforms like Amazon and Myntra require a pure white background for primary product photos. For social media, neutral tones like light grey or beige work well.
How do I fix the true colour of a dress in a photo?
Use the warmth and tint sliders in your photo editor. If a white shirt looks blue, increase the warmth. If a red kurti looks orange, adjust the tint and saturation until it matches real life.

Try it yourself
Outfit Gen AI
See yourself in any outfit before you buy it.