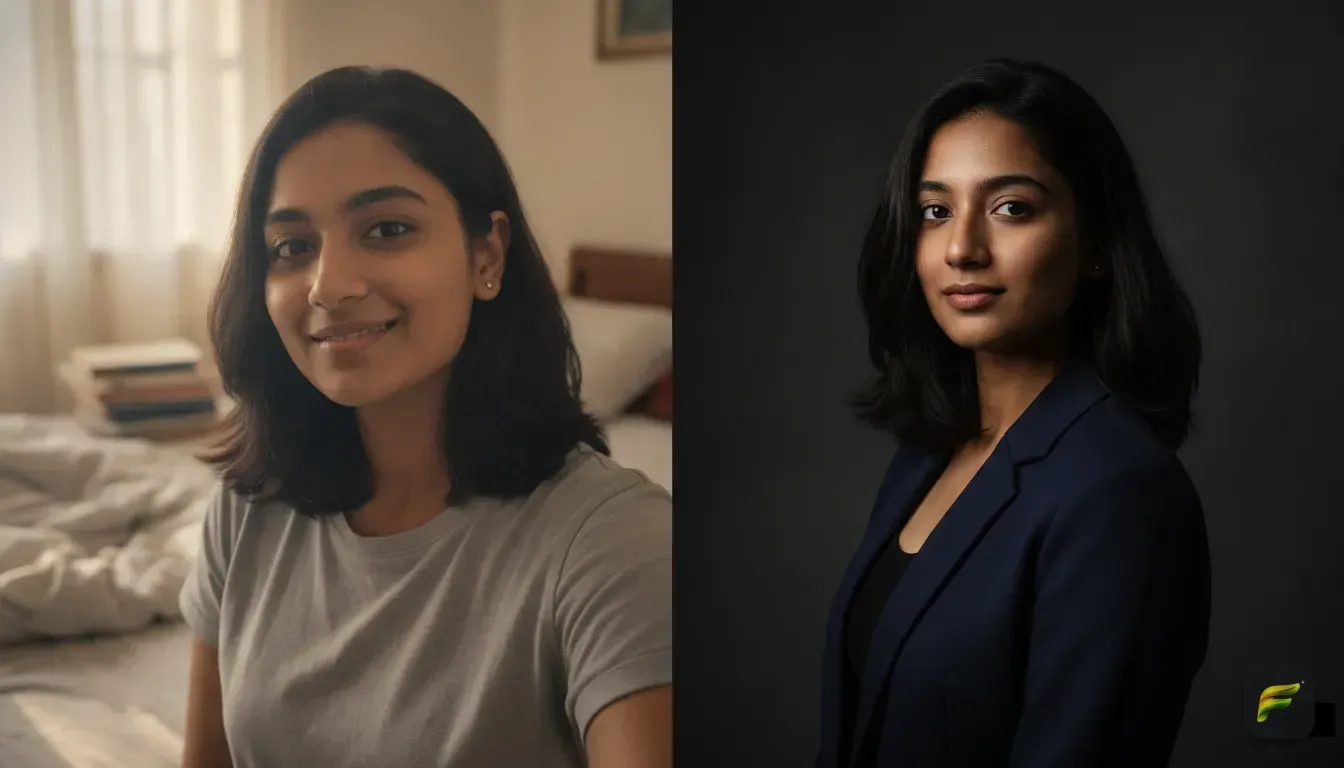
How to Train AI Image Styles for a Unique Instagram Grid
Learn how to build custom prompts and apply consistent AI photo styles to create an eye-catching, cohesive Instagram feed.
 DevForge Studio
7 min read
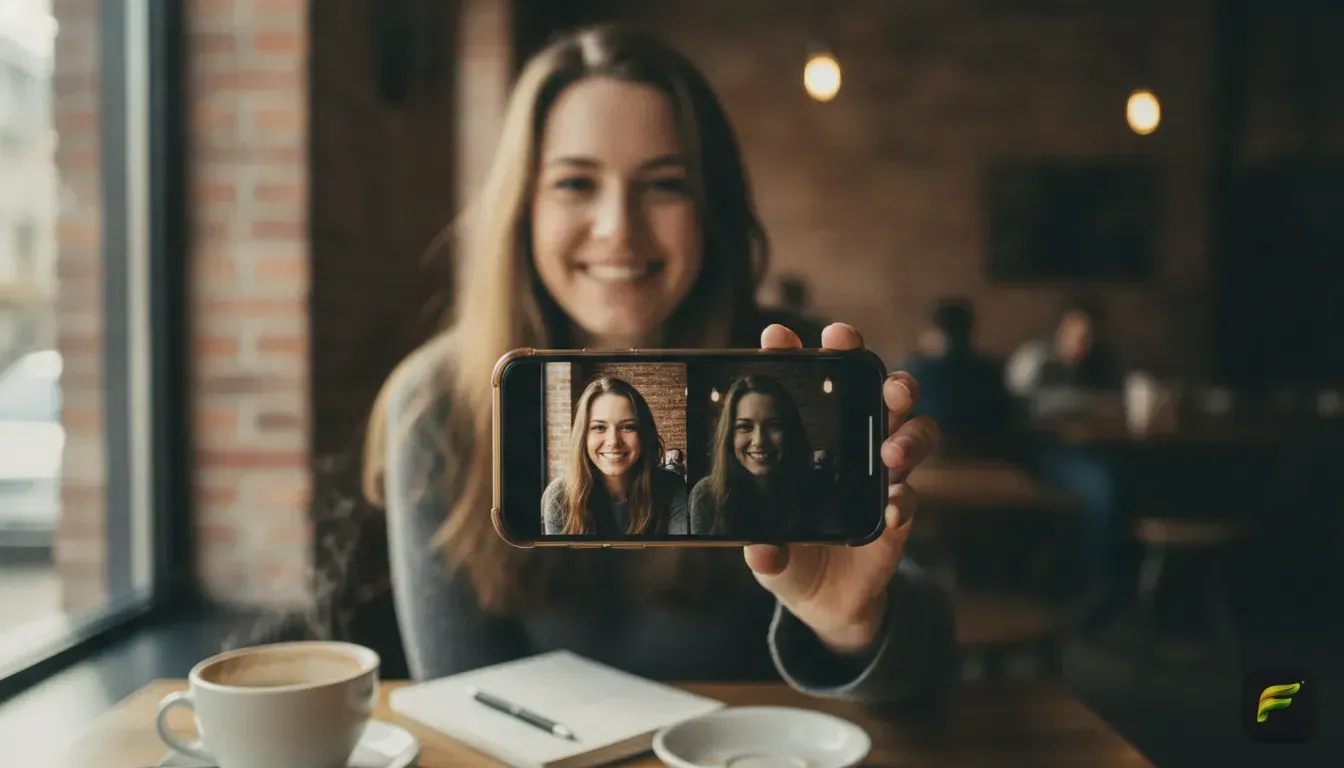
Creating a unique aesthetic for your Instagram feed used to mean buying expensive preset packs and tweaking exposure sliders for hours. You had to match the lighting in every single shot just to keep your grid consistent. It was exhausting.
Now, learning How to train AI image styles to create a unique aesthetic for your Instagram feed does the heavy lifting for you. By setting up custom prompts and saving your favourite AI photo styles, you turn basic selfies into a cohesive grid in seconds.
The secret to a great grid is repetition. When someone taps your profile, they should instantly understand your vibe. AI lets you apply that exact mood to every picture you post.
We'll show you how to define your style and write the perfect prompts. You'll also learn how to keep your face looking natural while the AI edits the background and lighting.
Pick a core aesthetic for your Instagram feed
Before opening an ai photo editor app, decide what you actually want. The AI needs strict instructions. If you ask for a "cool photo" on Monday and a "pretty picture" on Tuesday, your grid will look like a mess.
Pick two main colours and one specific lighting style. This combo becomes the base for all your aesthetic photo edit ideas. It helps the AI generate a look that feels uniquely yours. Try these three popular setups:
- Cinematic dark and moody: This style uses deep shadows, strong contrast, and muted colours. Think of scenes from a thriller movie. Use words like dramatic lighting, underexposed, and rich blacks in your AI prompts.
- Vintage film camera: This gives photos a nostalgic feel. It adds film grain, soft focus, and warm yellow or green tones. It mimics old disposable cameras and is currently a massive trending ai photo edit.
- Bright and minimal studio: This style uses pure white or soft pastel backgrounds with even lighting. It's a very clean look. Try it if you want to use an ai portrait generator from photo to create professional looking headshots.
How to train your AI style using custom prompts
Training an AI to stay consistent is all about the words you use. A custom prompt acts like a recipe. Once you find a look you love, you just copy and paste that recipe for every new photo.
A strong prompt for ai photo editing prompts needs four parts. Include the subject, outfit, setting, and aesthetic details. Since you upload your own photo, the AI already has your face and posture. You just need to tell it what to do with the rest.
Always structure your prompt the exact same way for the best results. Start by describing the lighting, then name the camera style or film type. After that, list your colour palette and add texture details like film grain or high gloss.
A bad prompt is just saying "make me look cool in Paris". A good prompt gives the AI clear artistic direction.
4 AI photo editing prompts to steal for your grid
If you aren't sure where to start, copy these prompts directly into your app. Just tweak the clothing and locations to fit your own life.
- The 90s Vintage Film Edit: "A young person standing in a retro diner, wearing a baggy vintage graphic tee. Shot on 35mm film, heavy film grain, warm yellow and green tones, soft focus, nostalgic flash photography lighting."
- The Moody Cinematic Night Walk: "A person walking down a wet city street at night, wearing a dark trench coat. Cinematic photo edit, dramatic neon lighting reflecting in puddles, blue and orange colour grading, sharp focus, 85mm lens."
- The Bright Paris Afternoon: "A person sitting at an outdoor cafe in Paris, wearing a chic white linen dress. Bright natural sunlight, soft pastel colours, airy aesthetic, high fashion magazine editorial style, shallow depth of field."
- The Clean Studio Portrait: "A clean minimalist portrait, wearing a tailored black blazer. Professional studio lighting, pure grey background, sharp details, high contrast, elegant and modern aesthetic."
Keep your face natural while changing the style
The biggest mistake people make with an ai portrait generator from photo is letting the AI alter their facial features. You want to post pictures of yourself, not a digital stranger. If your friends can't recognise you, the coolest aesthetic won't matter.
Picking the right app is crucial here. Many standard AI apps completely redraw your face when applying a strong filter. You need an app designed specifically for personal portraits to avoid this.
We built Fotorra AI to solve this exact problem. We gave it a core "Keeps Your Face" feature. You can use the app to change outfit in photo ai, swap your background to a Parisian cafe, or apply a heavy vintage film filter. Your face stays exactly the same.
For a shortcut, Fotorra AI offers Curated Templates with one tap filters like Girl's Closet, Cinematic studio, and Paris Afternoon. Or you can type your own Custom Prompts. Fotorra edits your image exactly the way you describe.
Most importantly, the app is private by design. Your uploaded photos are only used to make your edit. They are never used to train external AI models.
Read more about maintaining your real look online. We have a full guide on how to find the best AI filters for selfies that keep your natural face.
Tips for taking the best input selfies
Your AI photo styles will only ever be as good as the photo you upload. If you use a blurry picture taken in a dark room, the AI will struggle to find the edges of your face. Follow a few simple rules for your base photos to get high quality edits.
First, look for even lighting. Stand facing a window so the natural light hits your face directly. Avoid standing with the window behind you (this creates harsh shadows and confuses the software).
Second, keep your face clear. Pull your hair away from your eyes and take off your sunglasses. The AI needs a clear view of your features to keep them natural when applying new ai filters for selfies.
Finally, use a plain background if possible. Starting with a blank wall helps the software cut you out much faster. Always take the photo from chest level up.
Extreme closeups are hard for AI to expand. Full body shots often lose facial detail entirely.
Build a consistent batch of photos for your feed
Once you have your prompt and a good base photo, it's time to build your grid. A great Instagram feed isn't just nine identical selfies in a row. You need visual variety while keeping the same core aesthetic.
Use your trained AI style on different types of photos. Apply it to a close up selfie on Monday, and then a coffee shop photo on Wednesday. Try a wider shot on Friday.
Because you use the same prompt formula every time, the colours and lighting will match perfectly. This ties the whole grid together.
You can also use these aesthetics to brand your video content. If you post a lot of reels, apply your AI style to a selfie and use it as the cover image. We have a full breakdown of trending Instagram photo edit ideas for eye-catching reels covers to help you out.
Organising your saved styles and prompts
Keeping track of your favourite styles is a must. You don't want to type out a fifty word prompt from memory every time you post. Create a simple note on your phone called "Instagram AI Styles".
Every time you generate an edit you actually love, copy the prompt. Paste it straight into that note.
Organise them by mood or location. Keep all your "coffee shop" prompts in one section and your "night out" prompts in another.
When you want to post, open your note and copy the prompt. Paste it into your AI editor and upload your photo. This makes your whole workflow incredibly fast.
This trick is especially helpful if you use AI to test different looks before making a real life change. Save prompts for different hairstyles, hair colours, or outfits. You get to try a new look in seconds before you commit for real.
Your next move: test your style on three photos
You don't need to delete your entire Instagram history and start from scratch. That's a huge waste of time. The best way to introduce a new aesthetic is to test it on your next three posts.
Find three clear, well lit photos of yourself in your camera roll. Open Fotorra AI, paste in one of our custom prompts, and apply it to all three images. Put the three edited photos side by side in your phone gallery.
If the colours match and the vibe feels right, it worked. You've successfully trained your AI style. Save that prompt to your notes and start planning your next post.
Frequently asked questions
Can I keep my real face when using AI photo styles?
Yes, but it depends on the app you use. Tools like Fotorra AI are specifically designed to keep your facial features intact while altering your outfit, background, and the overall aesthetic lighting.
What is the best way to write a prompt for AI photo editing?
A great prompt includes four specific details: the lighting, the camera or film style, the colour palette, and the mood. Structuring your prompts this way ensures the AI gives you consistent results every time.
Why do my AI edited photos look blurry or warped?
This usually happens if your input photo has bad lighting or a very cluttered background. Start with a well-lit photo taken from the chest up against a plain wall for the cleanest AI edits.
Are my uploaded photos used to train other AI models?
It depends on the app's privacy policy. Fotorra AI is private by design, meaning your uploads are only used to generate your specific edit and are never stored or used to train external AI models.

Try it yourself
Fotorra AI
Transform photos instantly with AI.